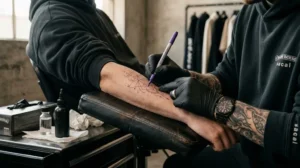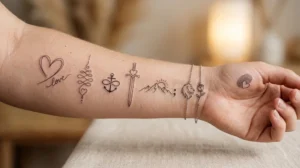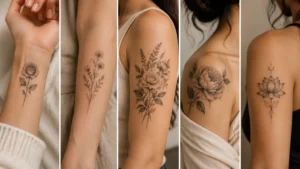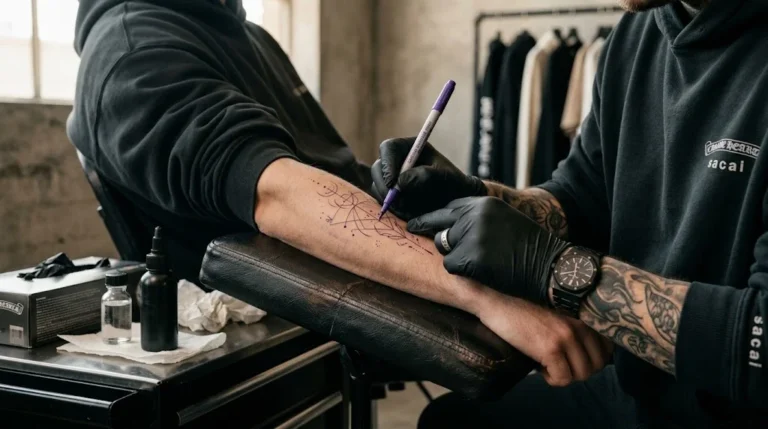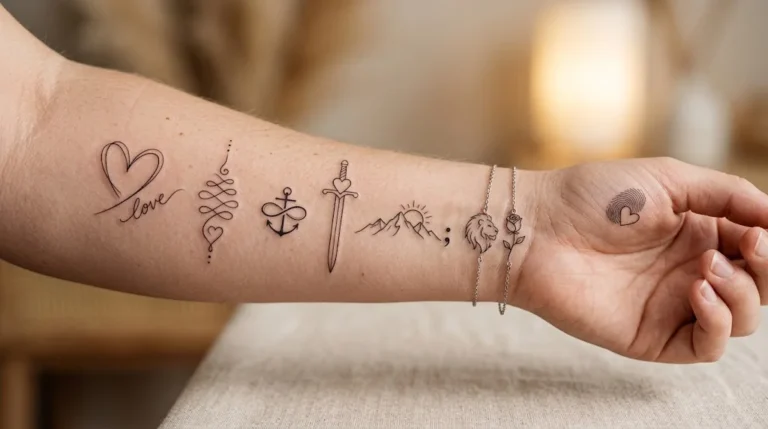
Learning how to put on temporary tattoo designs correctly helps you create a realistic look without wrinkles, fading, or uneven transfer. The process is simple: clean the skin, place the tattoo correctly, apply water, wait, and remove the backing carefully. With proper preparation and aftercare, temporary tattoos can look sharp and last longer.
Temporary tattoos are a fun way to test tattoo ideas, add style for special events, or enjoy body art without permanent commitment.
Quick Checklist Before Applying a Temporary Tattoo
- Choose clean, dry skin.
- Avoid applying over lotion or oily products.
- Pick a placement with enough space.
- Keep water nearby for transfer tattoos.
- Allow the tattoo time to set before touching it.
What You Need Before Applying a Temporary Tattoo
Most temporary tattoos require only a few simple items:
- Temporary tattoo sheet.
- Clean water.
- Towel or cloth.
- Scissors for cutting designs.
- Clean skin surface.
For better results, prepare the area before applying the tattoo.
Avoid applying temporary tattoos immediately after using:
- Body oils.
- Heavy moisturizers.
- Sunscreen.
- Makeup products.
These products can reduce how well the tattoo transfers.
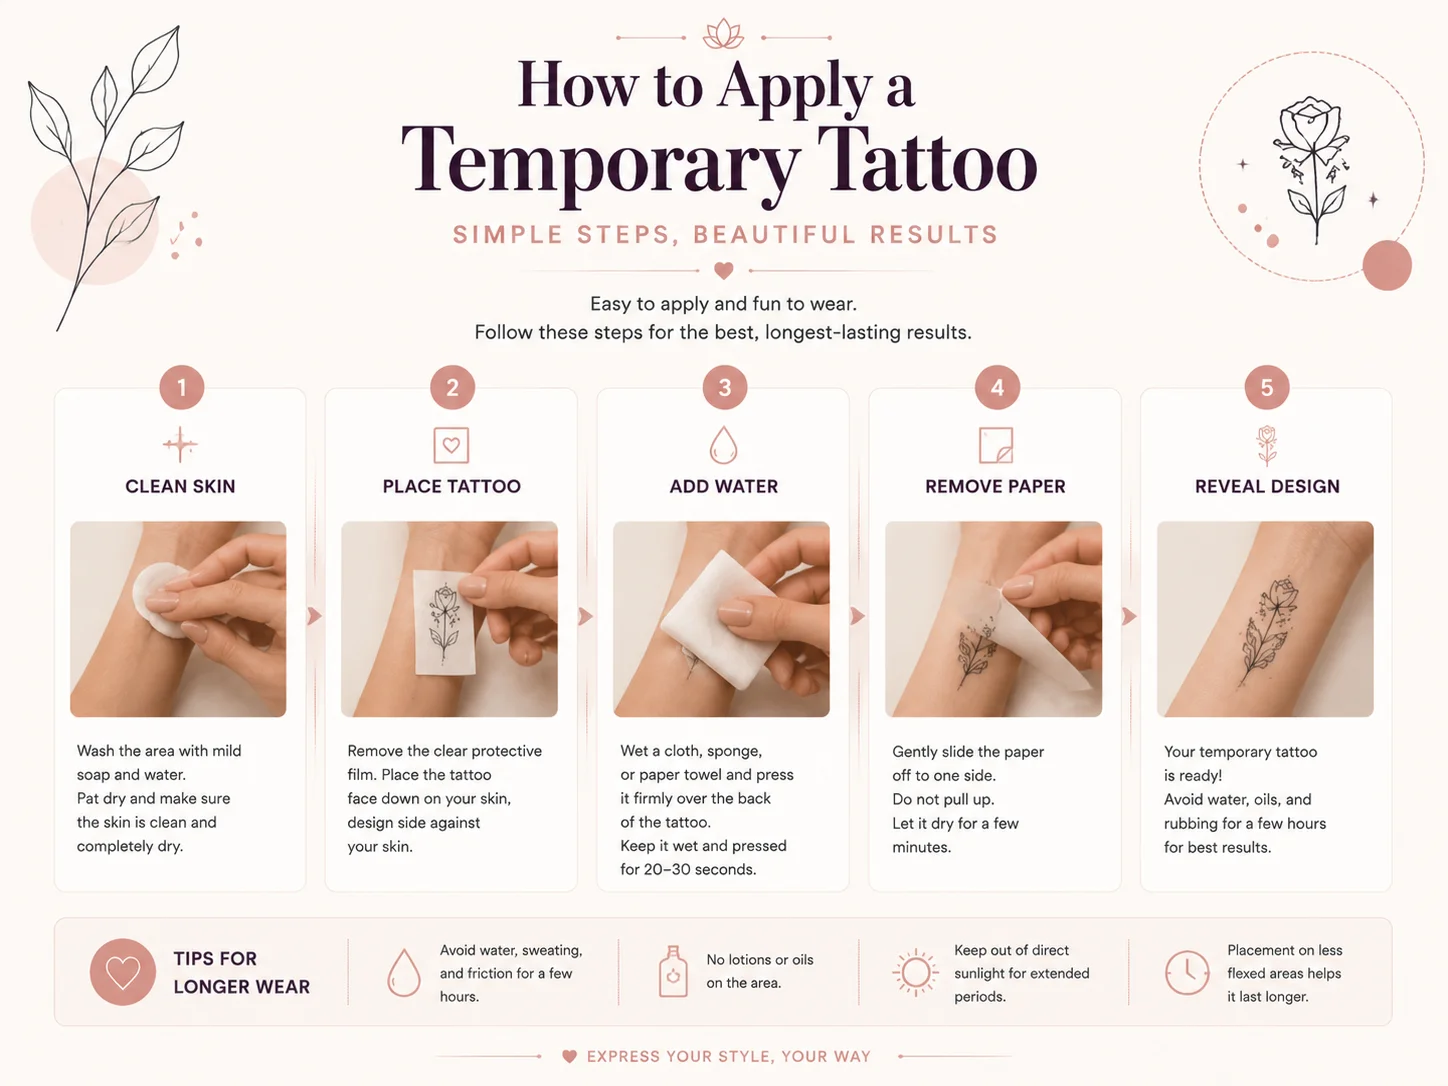
How to Put On Temporary Tattoo Step by Step
Choose Your Tattoo Placement
Start by selecting the area where you want your temporary tattoo. Flat areas usually provide the easiest application for beginners.
Clean and Dry Your Skin
Wash the area with mild soap and water. Dry completely before applying the tattoo for a clearer transfer.
Cut Around the Tattoo Design
Carefully cut around your chosen design. Less extra paper makes placement easier and more accurate.
Remove the Protective Film
Remove the clear layer carefully without touching the tattoo design too much. Place the ink side directly on your skin.
Apply Water and Wait
Press a damp cloth or sponge over the tattoo paper. Keep it still while the design transfers.
Remove the Paper Carefully
Slowly lift the backing paper and check that the tattoo transferred correctly. Avoid rubbing incomplete areas.
Let the Tattoo Dry
Allow the tattoo to set before touching it. Avoid scratching, rubbing, or applying products immediately.
How to Make Temporary Tattoo Last Longer
Many people ask how to make temporary tattoo last longer because they want their design to stay fresh.
These tips can help:
Apply on Clean Skin
Oil and lotion can create a barrier that reduces temporary tattoo adhesion.
Choose Low-Friction Areas
Tattoos usually last longer in areas where clothing does not constantly rub.
Avoid Excessive Scrubbing
Harsh washing and scrubbing can remove the design faster.
Protect the Tattoo
Avoid unnecessary rubbing during showers, workouts, or daily activities.
Use Quality Temporary Tattoos
Higher-quality temporary tattoos often provide better transfer, sharper details, and a more realistic appearance.
Best Temporary Tattoo Styles and Ideas
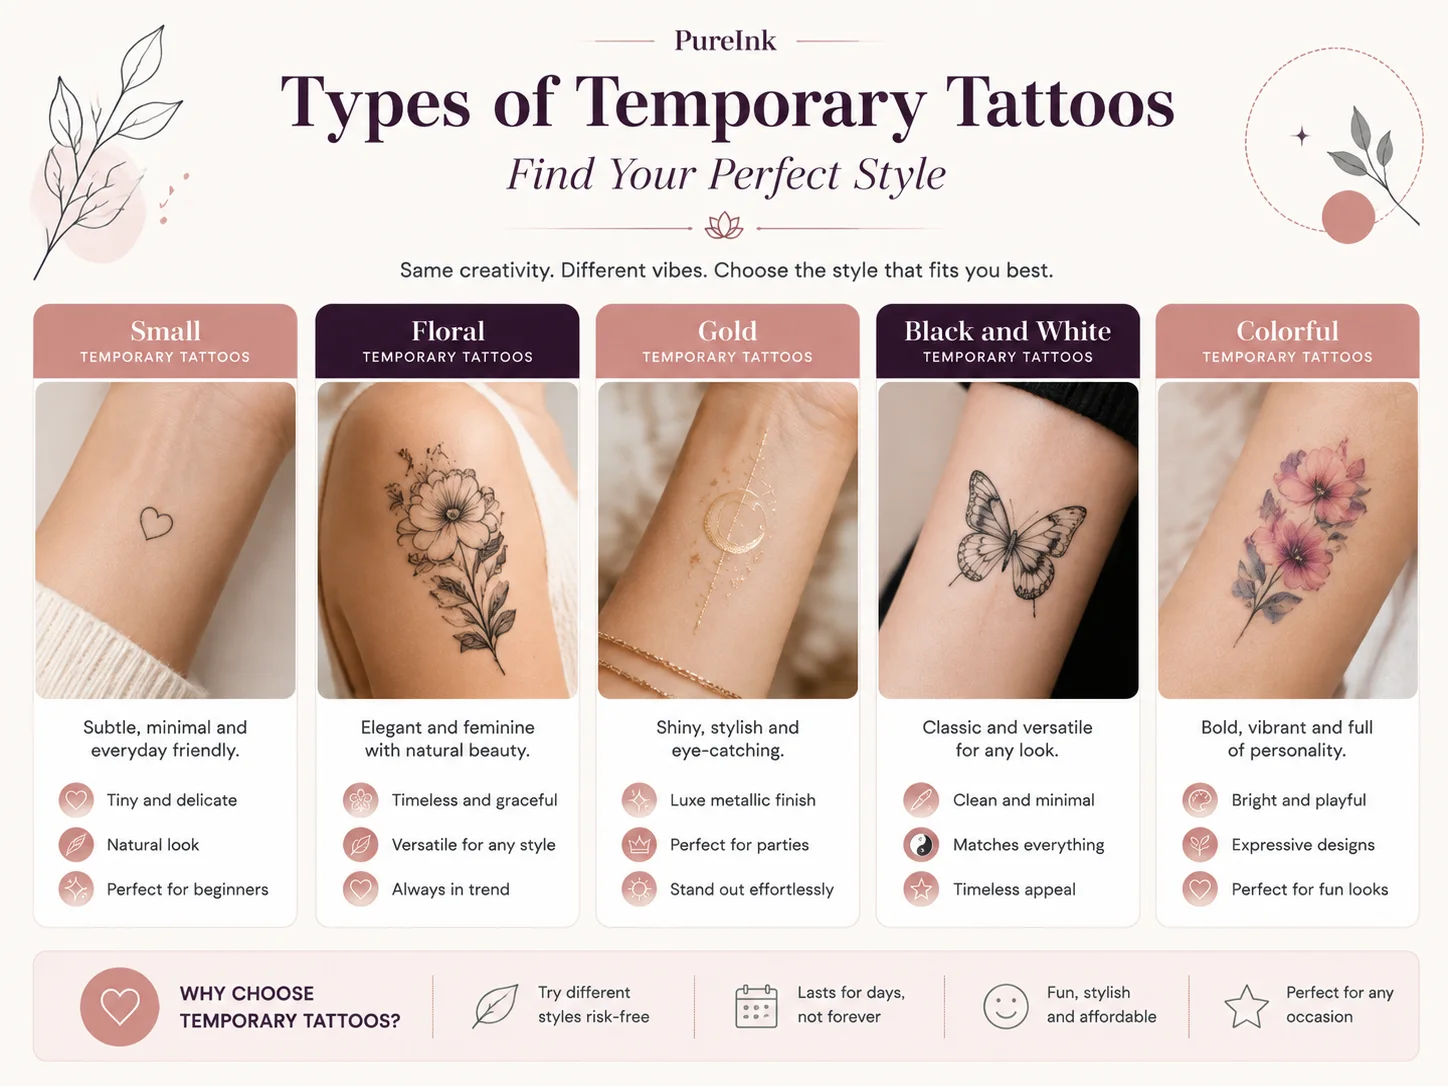
Temporary tattoos come in many designs, making them useful for experimenting with different styles.
Small Temporary Tattoos
Small designs are popular because they create a subtle and natural tattoo look.
Temporary Tattoo Letters
Letter designs add a personal touch and help test text tattoos before permanent ink.
Temporary Finger Tattoos
Finger designs create a delicate look and allow you to experiment with small placements.
Color Temporary Tattoos
Color temporary tattoos create a playful and artistic style.
Black and White Temporary Tattoos
Black and white designs create a realistic tattoo appearance.
Floral Temporary Tattoos
Floral designs work beautifully in both tiny and detailed temporary tattoo styles.
Tattoo Temporary Gold Designs
Gold temporary tattoos create a jewelry-inspired appearance and are popular for special occasions.
Temporary Tattoos Packages: What to Look For
When choosing temporary tattoos packages, consider:
- Number of designs included.
- Design variety.
- Skin-safe materials.
- Style options.
- Application instructions.
Packages are useful if you want multiple designs for events or want to test different tattoo ideas.
How to Remove Temporary Tattoos Safely
Most temporary tattoos naturally fade over time.
If you want faster removal, try:
- Warm water and soap.
- Baby oil.
- Makeup remover.
- Rubbing alcohol for suitable products.
For glitter designs, many people ask how to remove glitter tattoos.
Glitter tattoos may require:
- Oil-based remover.
- Gentle rubbing.
- Extra cleaning time.
Avoid harsh scrubbing because it can irritate your skin.
Common Temporary Tattoo Mistakes
Applying on Dirty Skin
Dirt and oil can prevent proper transfer and make the temporary tattoo look uneven.
Using Too Much Water
Excess water can affect the design quality and reduce a clean tattoo transfer.
Touching Too Soon
The tattoo needs time to set properly. Touching or rubbing it too early can damage the design.
Applying Over Lotion
Moisturizers can create a barrier and reduce how well the temporary tattoo sticks.
Choosing Poor Placement
Areas with constant rubbing from clothing or movement may cause faster fading.
Expert Tips for Better Temporary Tattoo Results
- Test the placement before transferring.
- Match the design size with the body area.
- Use smaller designs for fingers and hands.
- Avoid stretching the skin during application.
- Let the tattoo dry completely.
- Take photos before removing it if you are testing a permanent tattoo idea.
Temporary tattoos can also help you decide whether a permanent design, placement, or style feels right.
FAQs
Clean and dry your skin, place the tattoo face down, apply water, wait, remove the backing, and allow the design to dry.
Temporary tattoo wear time depends on the quality of the tattoo, placement, and how well you care for it.
Apply it to clean skin, avoid oily products, reduce friction, and avoid excessive rubbing.
Most temporary tattoos designed for skin use are considered safe when applied according to instructions. Avoid products that cause irritation and follow package guidance.
Glitter tattoos can usually be removed with oil-based removers and gentle cleaning.
Yes. Temporary tattoos allow you to test designs, placements, and styles before choosing permanent ink.
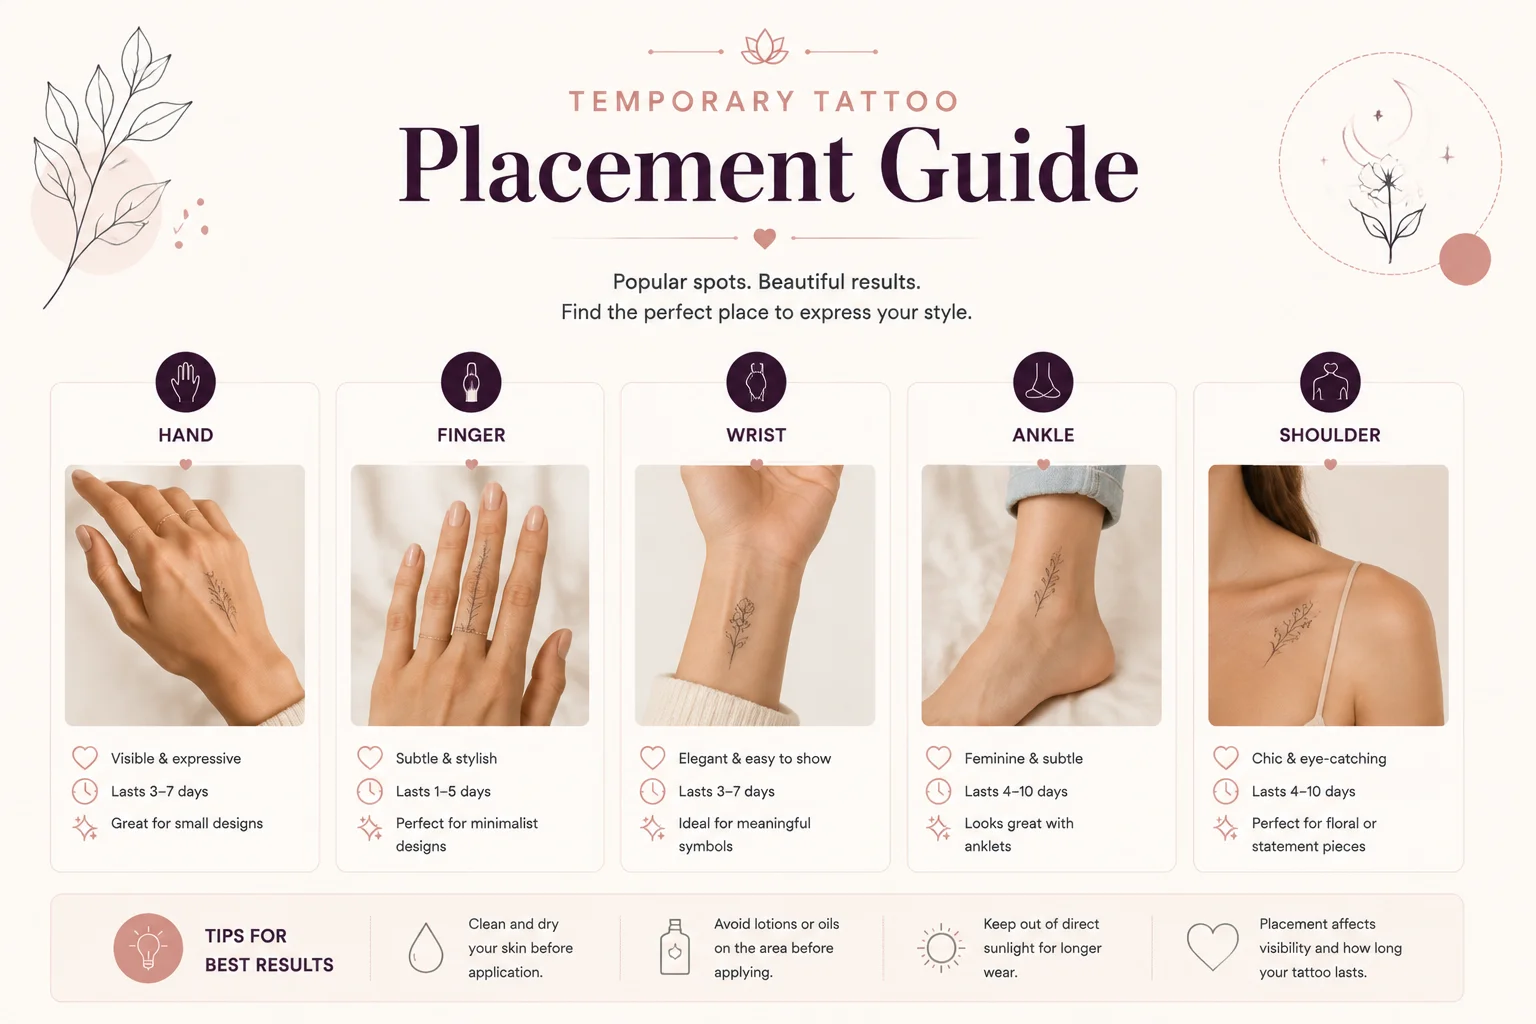
Popular placements include hands, wrists, fingers, ankles, shoulders, and collarbones.